Making Jinx's box
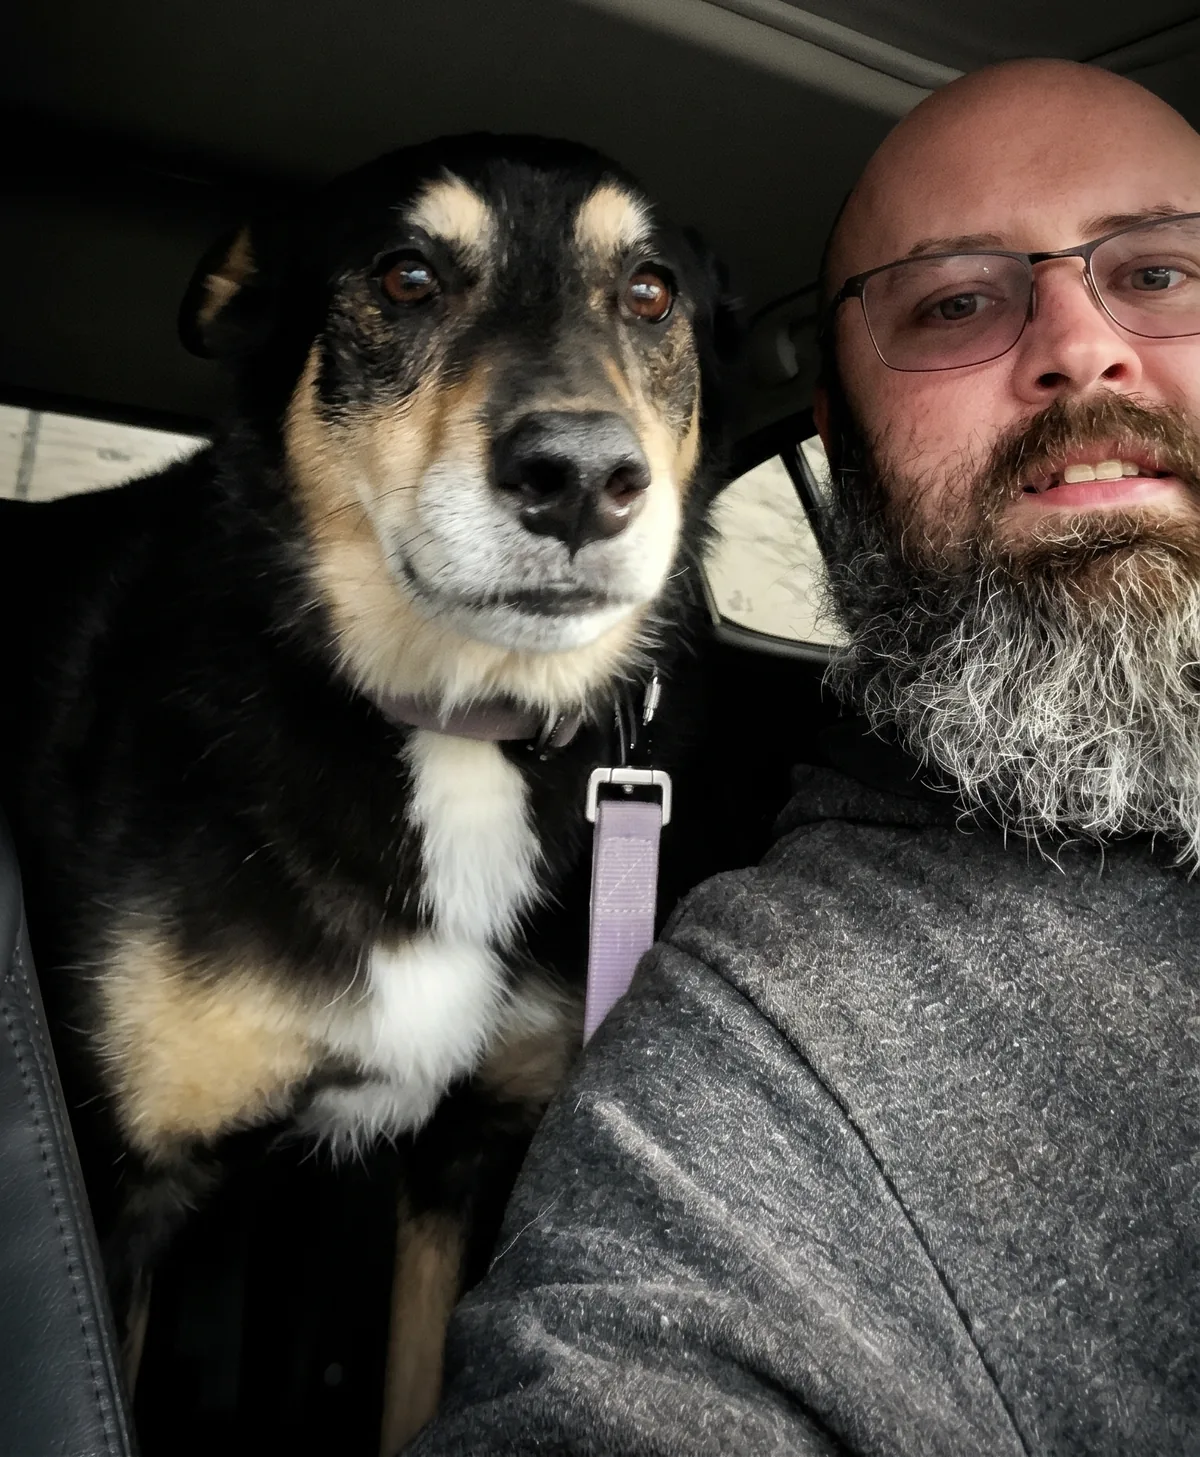
Jinx was my dog from 2016 to 2026. She was a good dog: full of energy, always excited, and loved by everyone who knew her. This is the story of the wooden box I built to hold her ashes and toys: four days of designing, cutting, and a few close calls along the way.
The plan
Something worth keeping
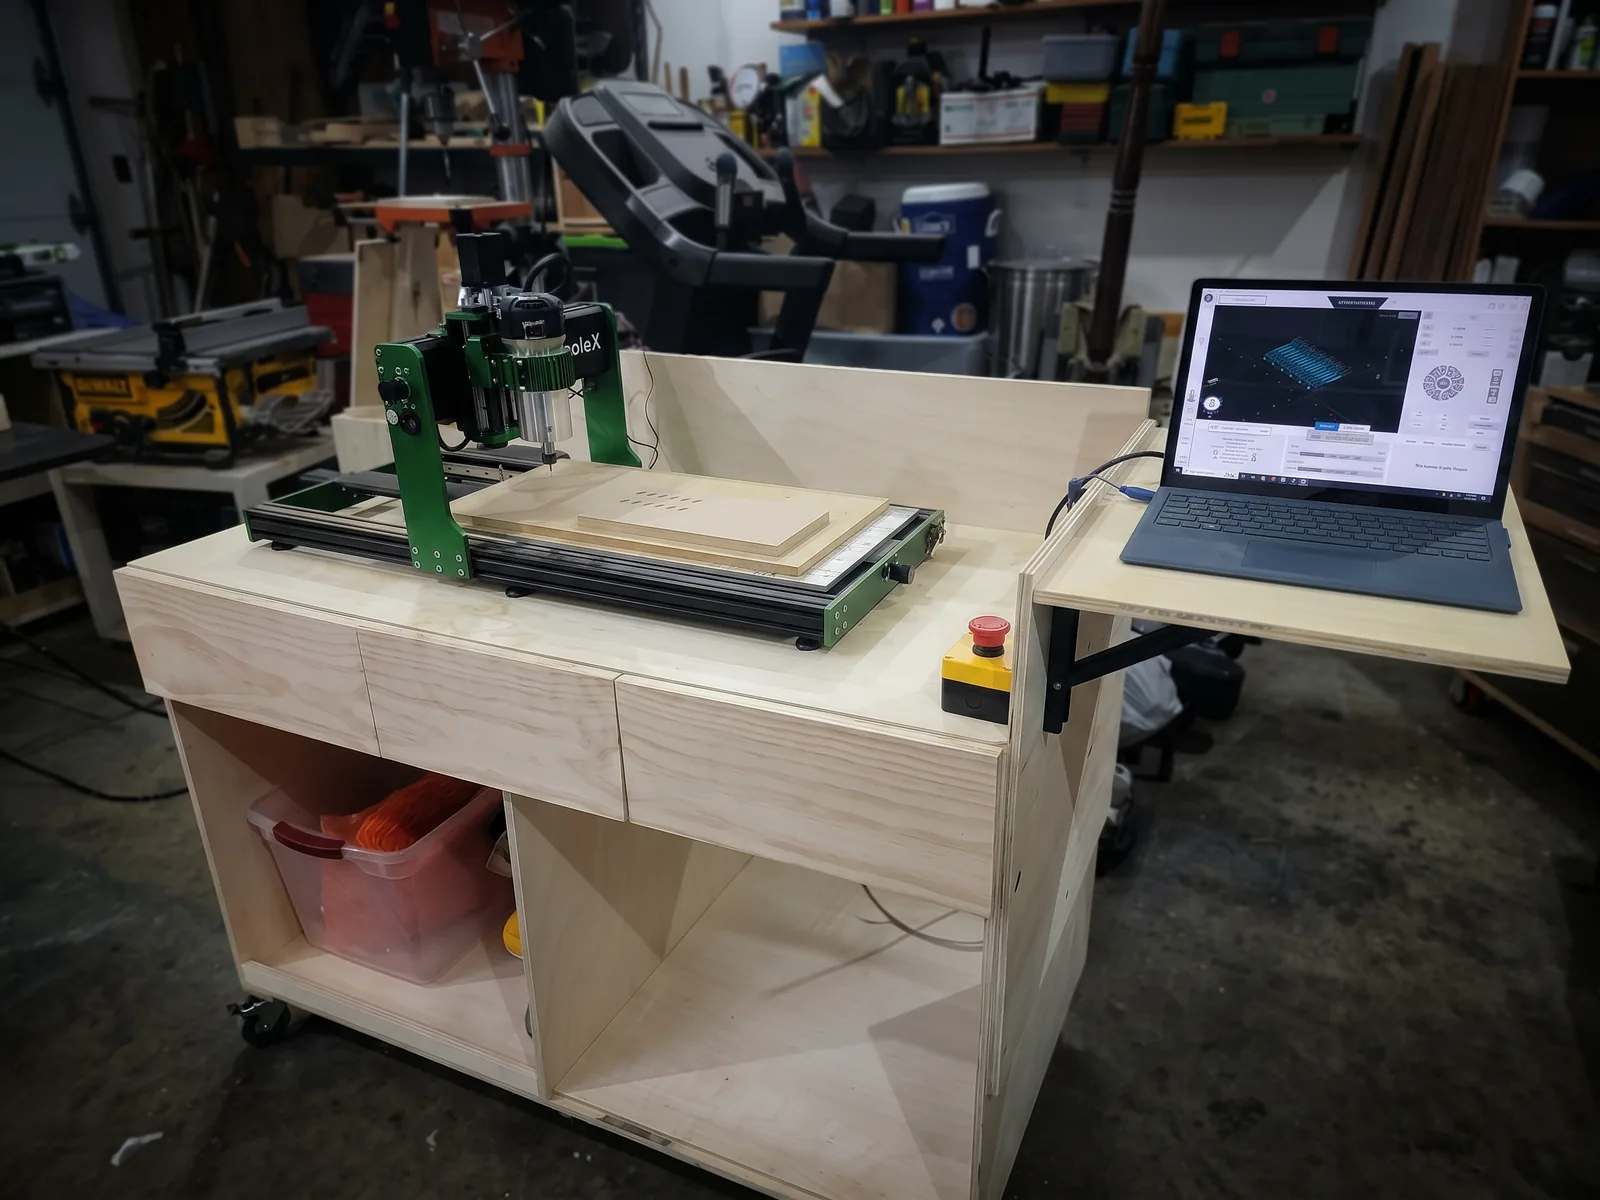
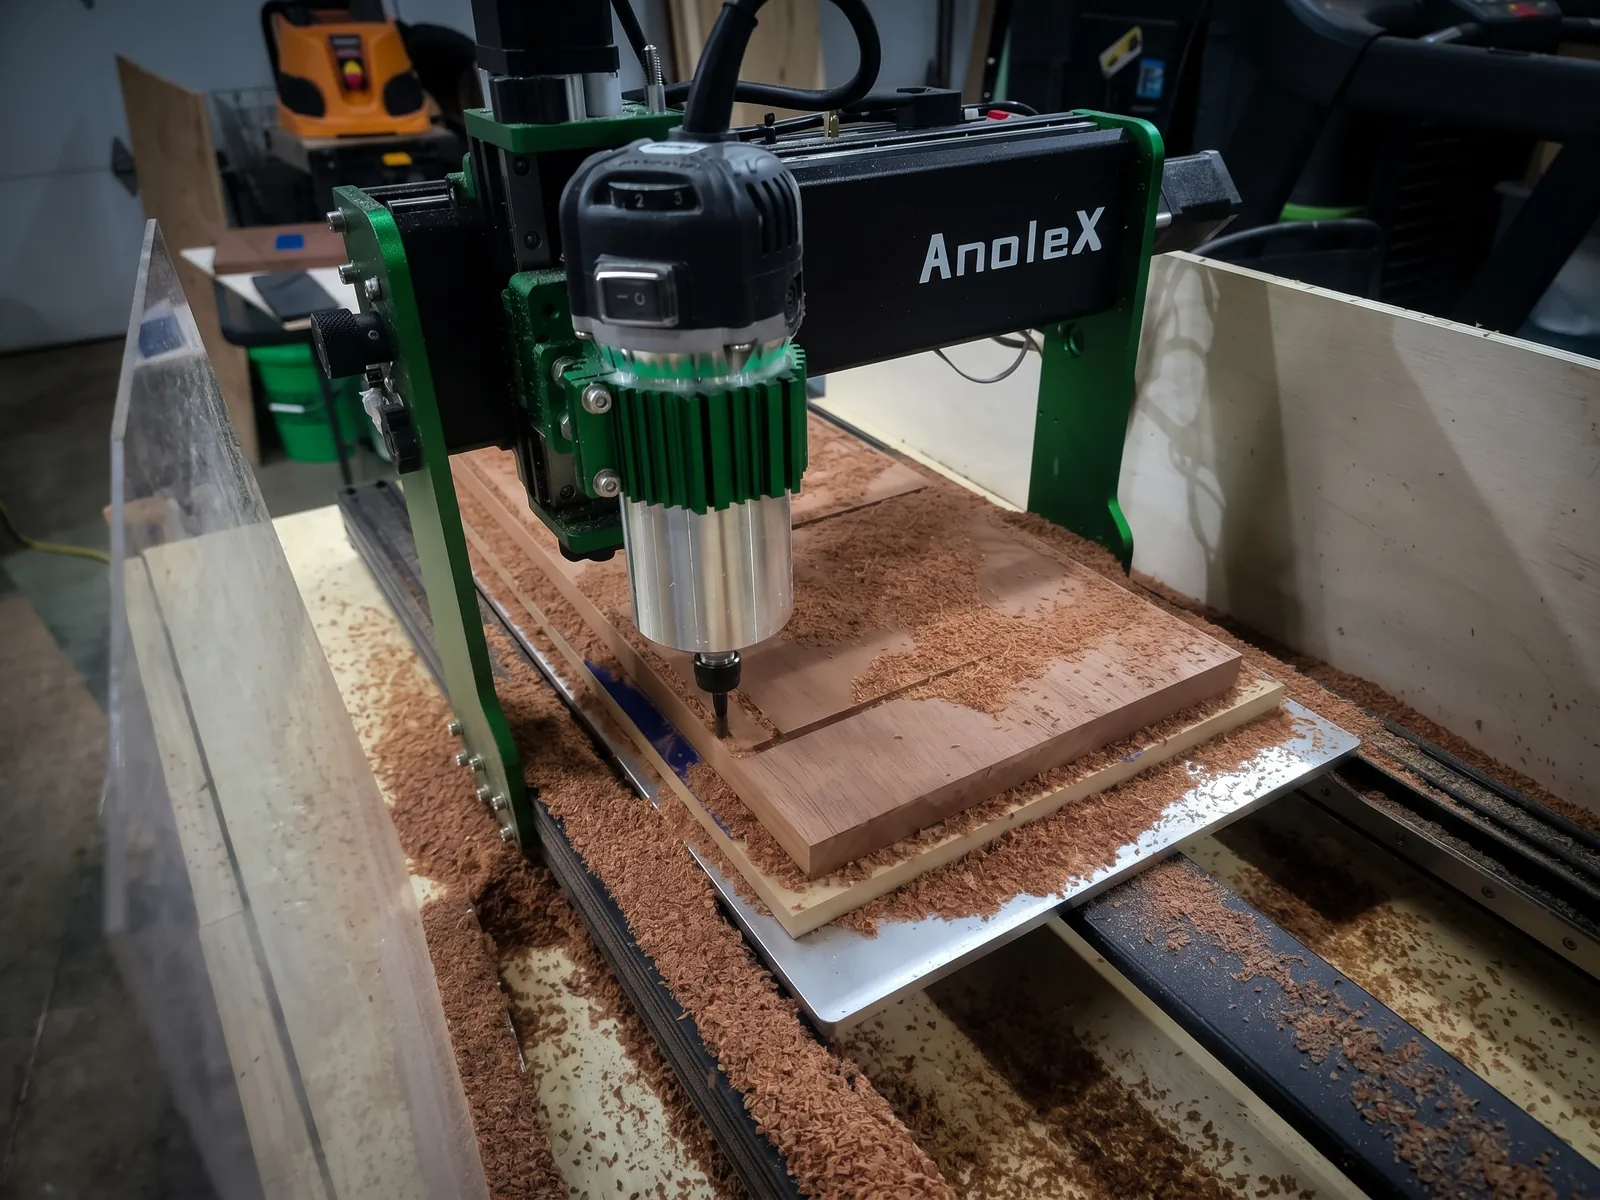
The plan was a box made of dark mahogany, big enough for Jinx's ashes and toys. I made every piece with the CNC machine in my shop. It's a carving machine run by a computer: I draw the part on the computer, and the machine cuts it out of the wood. This box is the biggest thing I've made with it so far.
· Design
From a pattern to a star
The star started as asa-no-ha, a Japanese hemp-leaf pattern used in kumiko woodwork, and one of my favorites. My first drawing had patterns like it covering all four sides of the box.
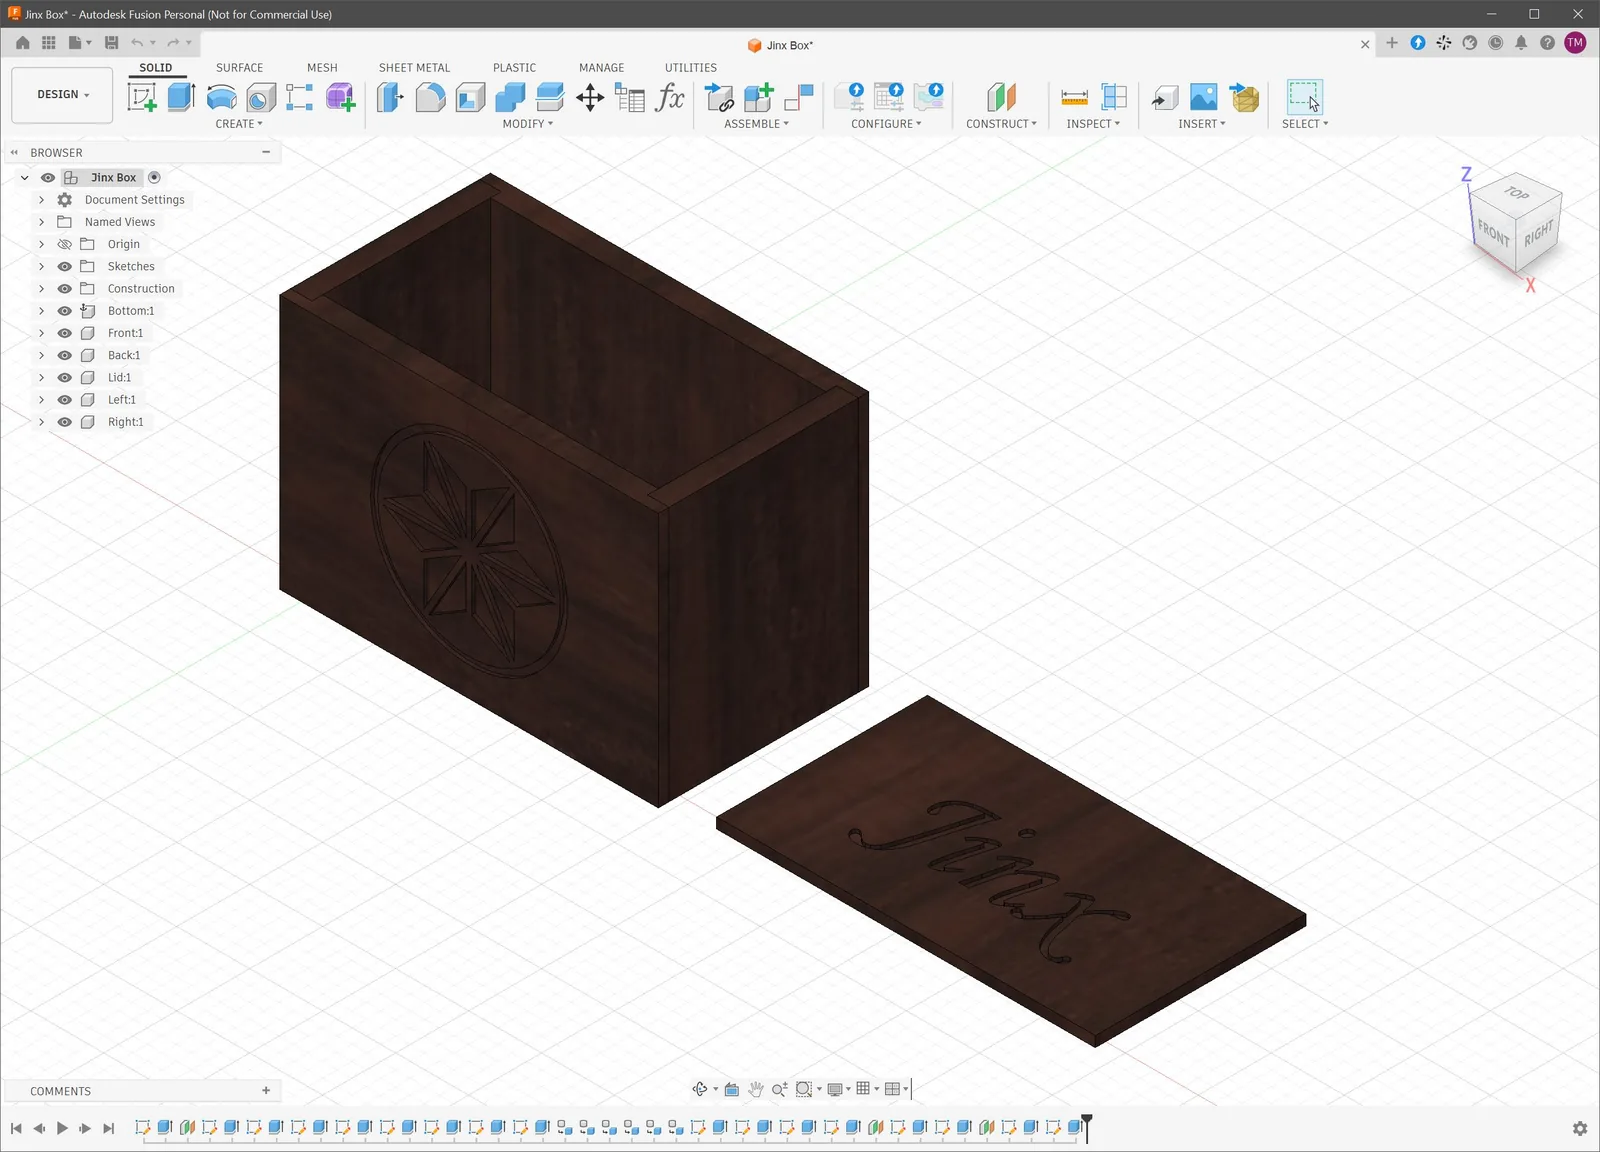
I trimmed the pattern down step by step: first to a single six-sided shape, then to a six-pointed star. A carved ring went around it, and "Jinx" went on the lid in flowing script.
The box itself is simple. The sides fit into notches cut into the front and back, and only the four corners are glued. The bottom sits loose in a slot so the wood can swell and shrink with the seasons without cracking.
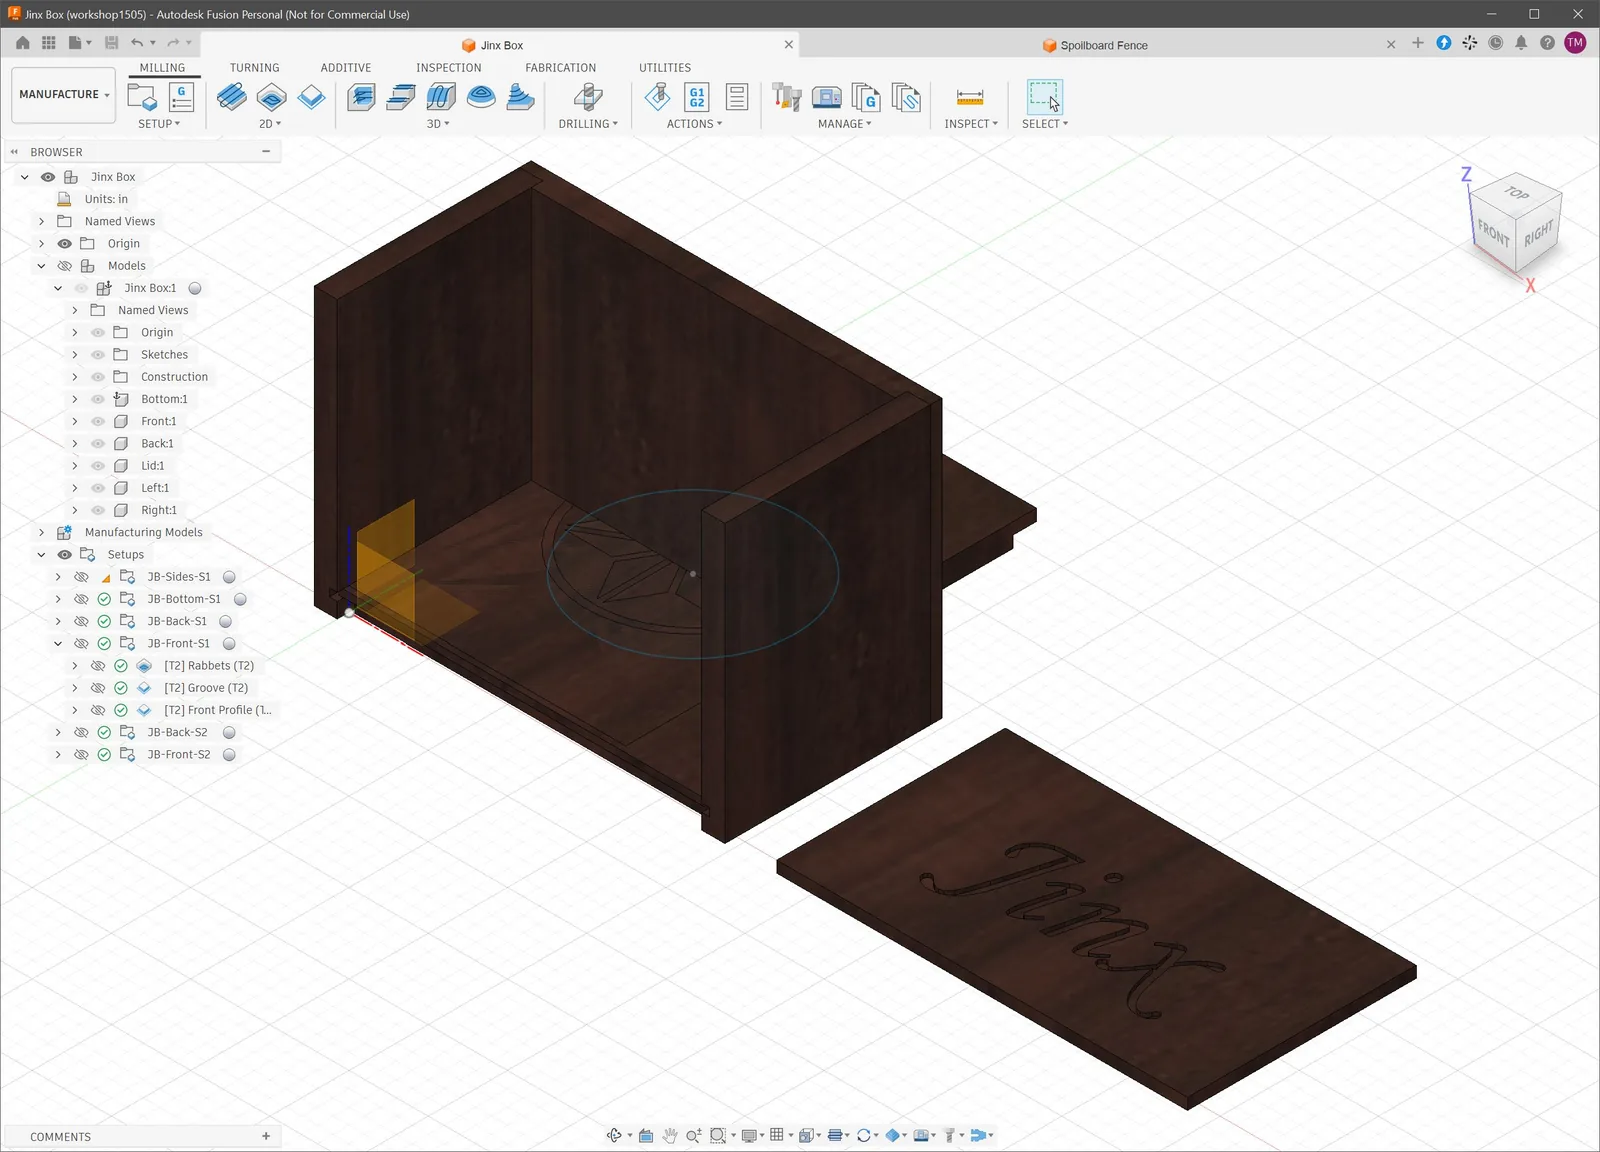
I designed it on the computer with help from Claude, the AI assistant I work with. Claude did a lot of the detailed setup for the machine. Before anything touched the wood, I watched a preview of every cut on screen, and I ran the machine myself.
–2 · Getting ready
Every board is different
I measured every board before cutting, and no two were quite the same thickness. The board for the bottom turned out a little too short, so I made the bottom slightly smaller and let the machine trim the rough ends straight.
The front, back, and lid have carving on both sides. For those, the machine cuts the inside first. Then I flip the piece over and push it against a few pegs on the machine's table, so the carving on the outside lines up with the edges.
· Cutting
Five pegs and a lot of wood chips
The two ends of the box came first, and they came out exactly right. The bottom was next. The on-screen preview caught a mistake before it reached the wood: the machine would have left small bumps at the corners of the bottom, where it fits into its slot. One fix later, it fit just right.
The pegs for flipping pieces are five wooden dowels set into holes in the machine's table. To get the holes the right size, I first cut a row of test holes in a scrap board, each one a hair bigger than the last. Only the biggest one held a dowel, and tightly. The five pegs went in at that size, and they're staying put for future projects.
· The lid
Finding the right letters
Partway through, I decided the star should go on just one side of the box. The back, which already had its star carved, became the front.
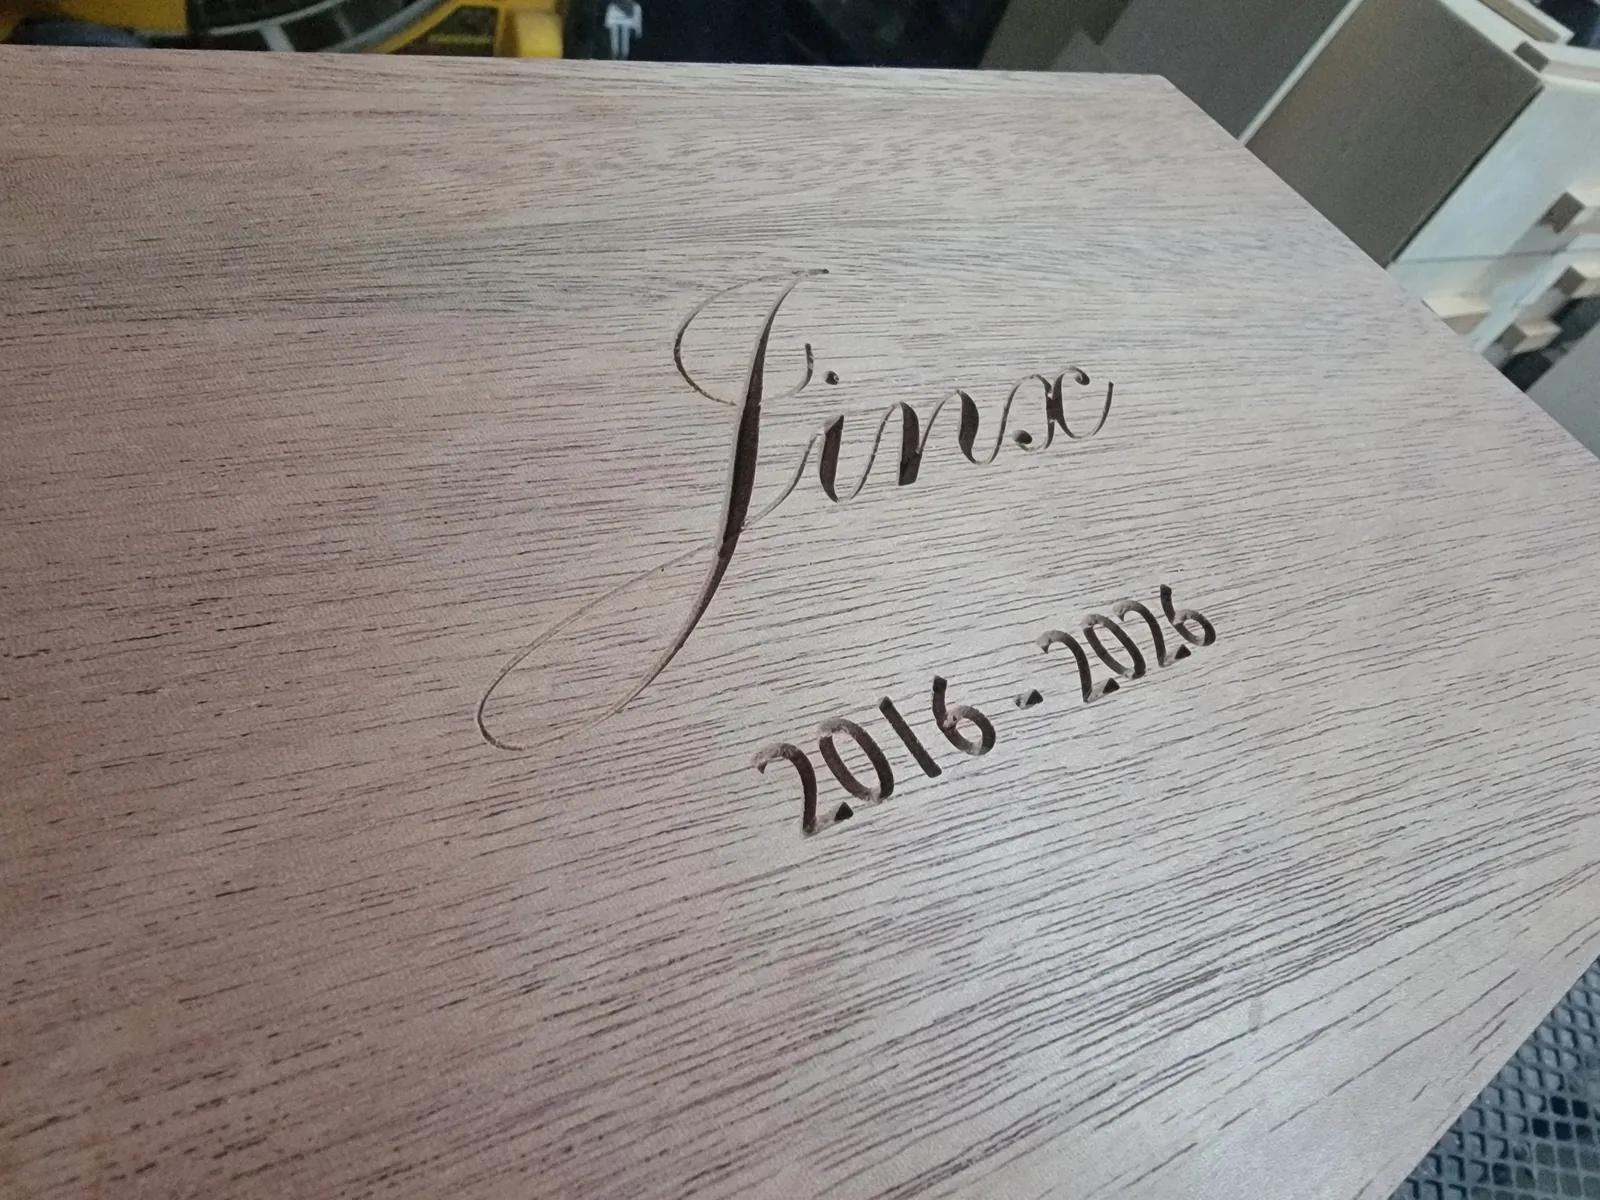
The lettering took the most work. The cutters I carve letters with are only 1/8" wide, and the first font had lines much thicker than that. We tried 22 different script fonts before settling on one for "Jinx" with lines thin enough to carve, and a plain font for the years underneath.
One last close call: just before carving, I noticed the wrong cutter was in the machine. My carving cutters all look nearly alike, but each one cuts a different shape of groove, and the wrong one would have ruined the lettering on the lid. Now, before every carve, I check that the cutter in the machine is the one the plan calls for. With the right one in, the lid carved in under two minutes.
Now · Gluing
Still to come
All the cutting is done, and the box has been glued up. Next comes the finish, and then Jinx's ashes and toys go inside.
Finished photos
Coming once the finish is on.